
Weed Mat Pins & Fixing: How to Stop Edges Curling
Nothing announces a badly-installed weed mat faster than curled edges flapping in the wind. The fabric itself is fine — the fixing failed. Pinning is the least glamorous part of ground cover work and the one that decides whether your ₹8,000 roll stays put for five years or starts travelling in the first monsoon storm. Here is how to fix weed mat properly, with exact spacing and the methods professional installers use.
Why weed mat lifts in the first place
Three forces work against laid fabric. Wind gets under any loose edge and hums it like a flag — the fatigue line along the fold is where fabric eventually tears. Thermal movement makes the sheet expand and contract between a 45°C afternoon and a 20°C night, slowly walking unpinned fabric downslope. And water flow under a lifted edge pumps soil out from beneath the seam, hollowing channels that make the lift worse. Every fixing method below is designed against these three.
Pin types and what to order
- J-shaped wire pins (11–12 gauge): The standard. 150–200 mm long, galvanised so they do not rust through. One box of 100 covers most home jobs; farm areas order by the thousand.
- U-shaped staples: Faster to press on soft ground, slightly less holding in wind. Fine for overlaps and sheltered gardens.
- Heavy pegs for edges: On exposed perimeters and slopes, thicker pegs (or even cut bamboo stakes on farms) anchor where wire pins strain.
Pins cost ₹2–₹5 each — compare that to re-anchoring a torn roll and the budgeting question answers itself. A 100 sq m job typically uses 100–150 pins.
Spacing that actually holds
Professional spacing, adjusted by exposure:
- Edges and perimeters: Every 50–100 cm. This is where wind attacks first, so edges take the tightest spacing.
- Overlaps between strips: Every 50–75 cm along the seam, staggered — never in a straight line, which creates a perforation.
- Field centres: Every 1.5–2 m is plenty on flat, sheltered ground; the mass of the fabric does most of the work there.
- Slopes: Halve every spacing. On gradients above roughly 15°, add a horizontal anchor trench at the top of the slope (fabric buried 10–15 cm deep, backfilled).
Drive pins at a slight angle — leaning back against the pull direction — and press the head flush so it cannot catch a rake or a bare foot. On the woven fabric we supply (100 GSM and 120 GSM rolls), pins pass cleanly between weave tapes without cutting the threads — that is the advantage of woven construction over thin films.
Overlap direction: the detail everyone misses
Overlaps must shed water, not collect it. Always lay the upstream strip over the downstream strip — like roof shingles — so runoff flows over the seam. A 15 cm overlap is the standard; anything less lets light and weed shoots through the seam within a season. On a slope, work top to bottom with upper strips on top. The full installation guide sequences this properly from ground prep onward.
Fixing edges without pins
Where pins are unavailable or the surface will not take them, three alternatives work:
- Buried edge (anchor trench): Dig a shallow trench along the edge, bury the fabric 10–15 cm, backfill and firm. The strongest edge fixing there is — standard on driveways and permanent beds.
- Edge restraint on top: Bricks, paver strips or border stones sitting on the fabric edge weigh it down and double as the visual border. Standard for gravel paths — see the gravel setup guide.
- Weight of growing media: Inside polyhouses and nurseries, bed edges under 5 cm of media stay flat without pins.
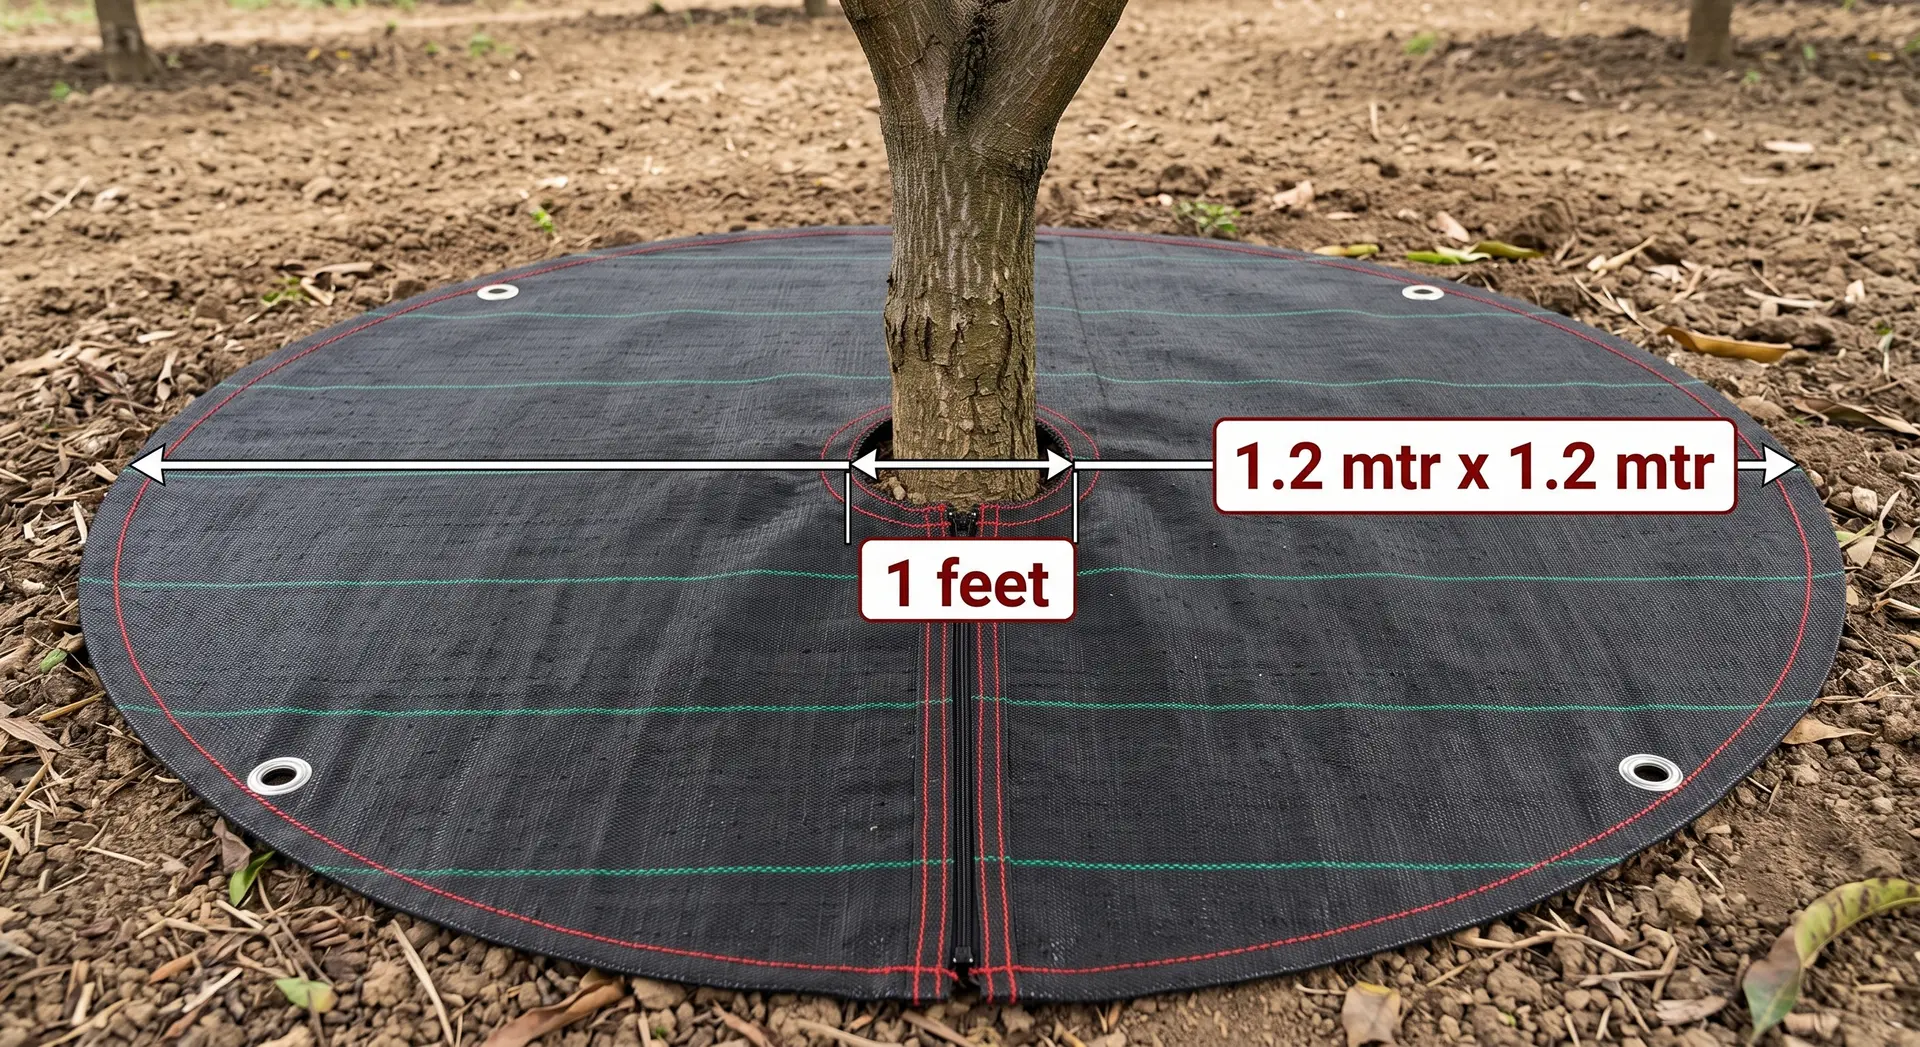
For small terrace jobs, ready mats such as the 1.2x1.2 m garden mat often need no fixing at all — their weight and stitched edges keep them stable on flat surfaces. For tree basins, the chain edge on the round basin mat serves the same holding purpose around the trunk.
Repairing a mat that already lifted
Caught early, a lifted edge is a five-minute fix: press the fabric flat, remove any soil hollow beneath, add pins at half the original spacing through the affected stretch. Caught late — fabric stretched, fold line fatigued — flatten it, patch over the fatigue line with an offcut (15 cm overlap all round, pinned), and increase pinning along that whole edge. The mistakes-and-fixes guide lists this among the recoverable errors; the key is to walk your fabric after the first big wind and the first heavy rain, before small lifts become tears.
Frequently Asked Questions
How many pins do I need per roll of weed mat?
For a 1x100 m roll, 100–150 pins covers edges, overlaps and centres on normal ground. Slopes and exposed sites need 200+. Order a spare box — pins disappear into sheds.
Can I lay weed mat without pins?
On flat, sheltered terraces with ready mats, often yes. On any open ground or with rolls, pinning or a buried edge is what keeps the fabric flat through wind and rain.
Why are my weed mat edges curling up?
Unpinned edges move with thermal expansion and wind until the fold sets a permanent curl. Re-flat them, add pins every 50 cm, and the curl usually settles out within weeks.
Which is better — pins or burying the edges?
Buried edges hold best long-term and suit permanent installations; pins are faster and allow future repositioning. Permanent paths and beds get trenches; garden beds get pins.
Shop the products mentioned
Premium weed control mats & jewellery — free shipping above ₹999.